2021-01-31 11:10:10 +08:00
# Asynqmon
Asynqmon is a web based tool for monitoring and administrating Asynq queues and tasks.
2021-02-01 13:50:46 +08:00
## Compatibility
Current version of Asynqmon is compatible with [Asynq v0.15 or above ](https://github.com/hibiken/asynq/releases ).
2021-01-31 11:10:10 +08:00
## Installation
### Release binaries
You can download the release binary for your system from the
[releases page ](https://github.com/hibiken/asynqmon/releases ).
### Building from source
To build Asynqmon from source code, first ensure that have a working
Go environment with [version 1.16 or greater installed ](https://golang.org/doc/install ).
You also need [Node.js ](https://nodejs.org/ ) and [Yarn ](https://yarnpkg.com/ )
installed in order to build the frontend assets.
Download the source code and then run:
2021-04-06 07:35:15 +08:00
```bash
make build
2021-01-31 11:10:10 +08:00
```
The `asynqmon` binary should be created in the current directory.
## Usage
2021-02-01 13:50:46 +08:00
Asynqmon server needs to connect to redis server to serve data.
By default, it connects to redis server running on port 6379 locally, and the server listens on port 8080.
To use the defaults, simply run and open http://localhost:8080.
2021-01-31 11:10:10 +08:00
2021-04-06 07:35:15 +08:00
```bash
./asynqmon
2021-01-31 11:10:10 +08:00
```
Pass flags to specify port, redis server address, etc.
2021-04-06 07:35:15 +08:00
```bash
./asynqmon --port=3000 --redis_addr=localhost:6380
2021-01-31 11:10:10 +08:00
```
2021-02-01 13:50:46 +08:00
To see all available flags, run
2021-04-06 07:35:15 +08:00
```bash
./asynqmon --help
```
## Running from Docker
2021-04-06 12:42:15 +08:00
To run Asynqmon in a Docker container, you only need to install [Docker ](https://www.docker.com/get-started ) on your system. No need to install [Node.js ](https://nodejs.org/ ) and [Yarn ](https://yarnpkg.com/ ), they will be installed automatically in the container.
2021-04-06 07:35:15 +08:00
After that, just run this command:
```bash
make docker
```
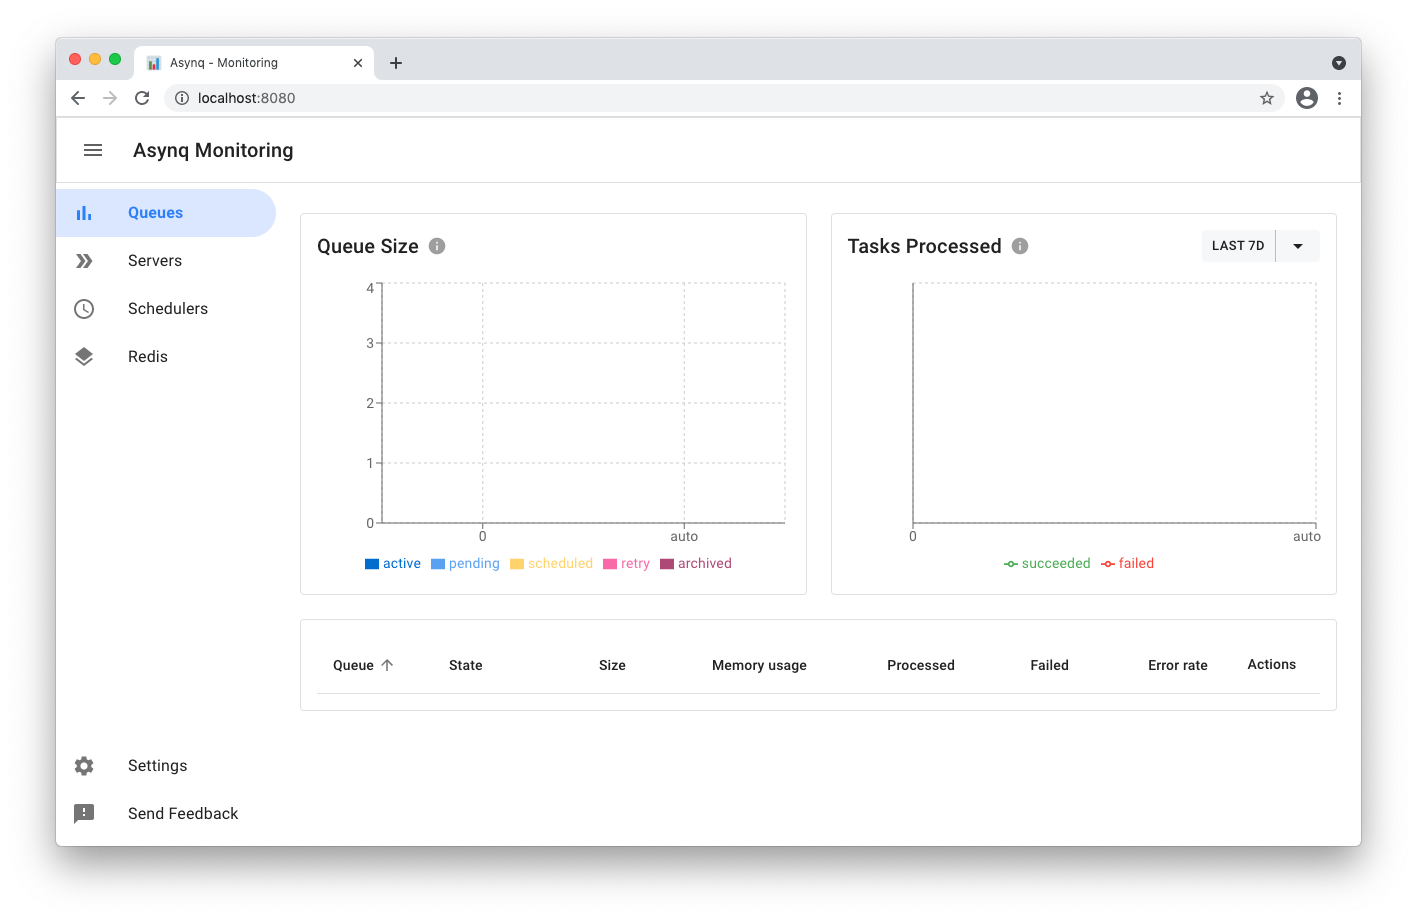
Next, go to [localhost:8080 ](http://localhost:8080 ) and see Asynqmon dashboard:

2021-04-06 12:42:15 +08:00
### Change default Asynqmon settings
2021-04-06 07:35:15 +08:00
2021-04-06 12:42:15 +08:00
By default, Asynqmon web server listens on `http://localhost:8080` and connects to a Redis server on port `localhost:6379` .
You can easily change this settings by running Docker container with custom options, like this:
2021-04-06 07:35:15 +08:00
```bash
docker run --rm \
--name asynqmon \
-p 3000:3000 \
2021-04-06 12:42:15 +08:00
asynqmon --port=3000 --redis_addr=host.docker.internal:6380
2021-04-06 07:35:15 +08:00
```
2021-04-06 12:42:15 +08:00
### Connect to a Redis server from Docker
2021-04-06 07:35:15 +08:00
2021-04-06 12:42:15 +08:00
If you run Redis server from Docker container too (i.e. is **not** locally installed to your machine), you need to set [Docker network ](https://docs.docker.com/network/ ) to make them work together. For example, if Redis container have a name `dev-redis` , and our Docker network called `dev-network` , you should run Asynqmon container by this command:
2021-04-06 07:35:15 +08:00
```bash
docker run --rm \
--name asynqmon \
--network dev-network \
-p 8080:8080 \
asynqmon --redis_addr=dev-redis:6379
2021-02-01 13:50:46 +08:00
```
2021-01-31 11:10:10 +08:00
## License
Asynqmon is released under the MIT license. See [LICENSE ](https://github.com/hibiken/asynqmon/blob/master/LICENSE ).